1. Add Gallery
Go to your page or blog post and click the add gallery icon in the text edit toolbar

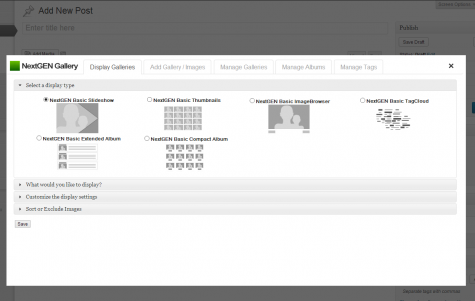
2. Choose gallery type
A pop up window will appear, here you can select your display type (i.e. Slideshow, Thumbnail Gallery, Imagebrowser or Album):
3. Selet gallery
Next, click the ‘What would you like to display’ tab and select the gallery you wish to display

4. Save Gallery
When you are finished, click ‘save’ and the gallery will be added within your post as a thumbnail preview, like this:

You’re finished! Go ahead and click publish or update on your post/page. If you need to manage or edit your gallery click once on the thumbnail and the Attach to Post interface will reappear.
Was this article helpful?
That’s Great!
Thank you for your feedback
Sorry! We couldn't be helpful
Thank you for your feedback
Feedback sent
We appreciate your effort and will try to fix the article